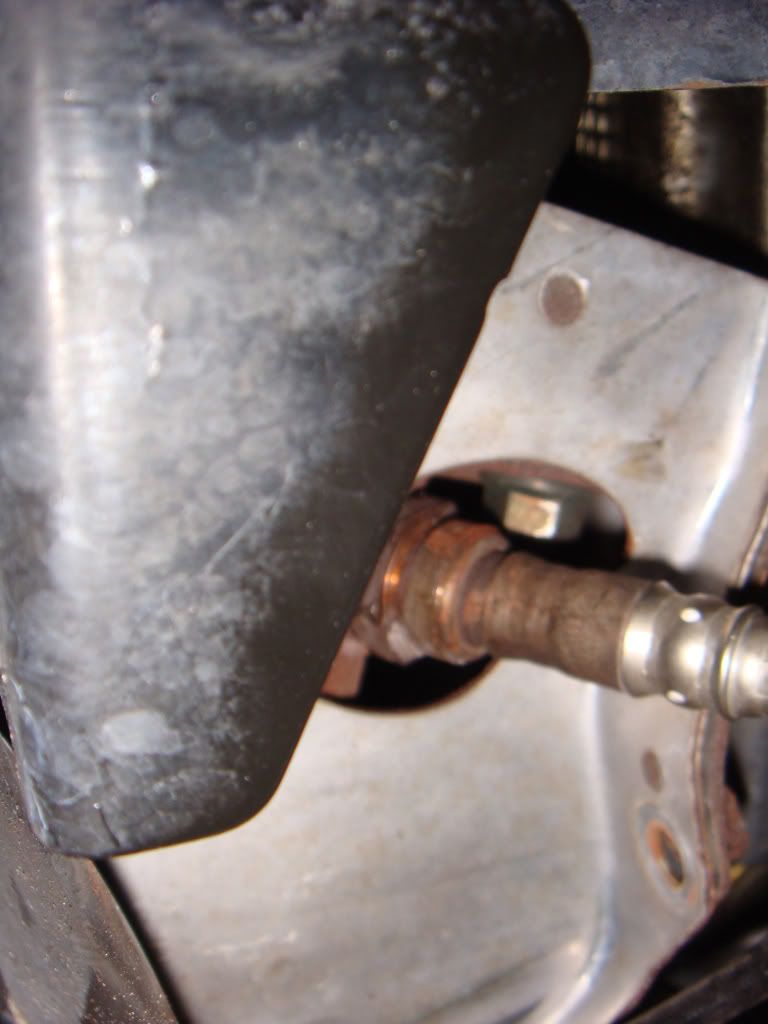
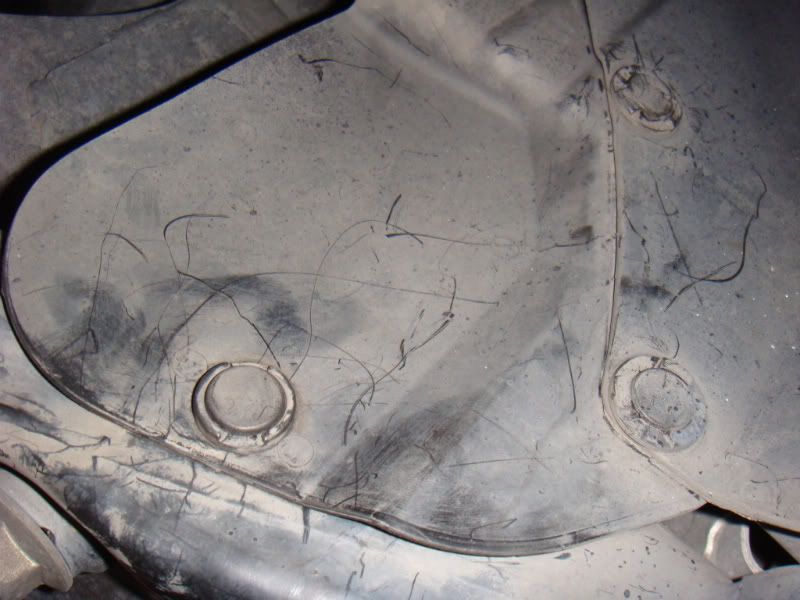
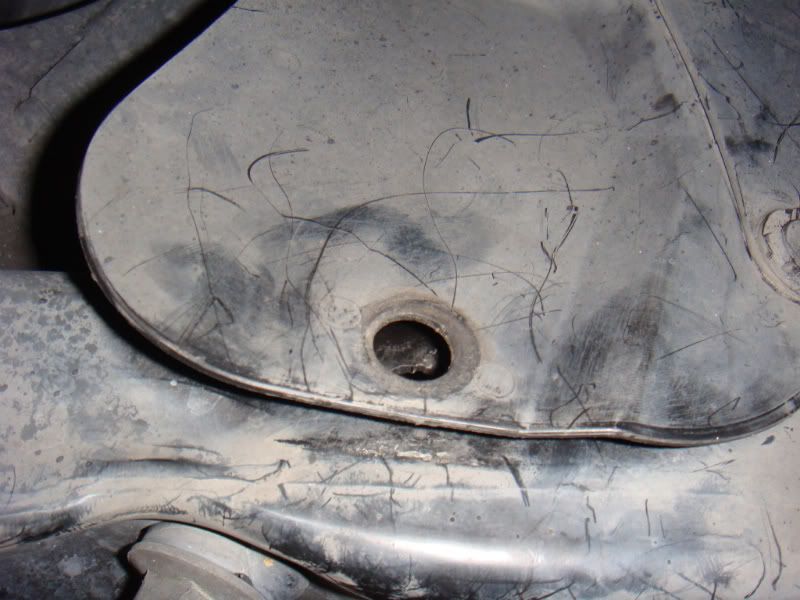
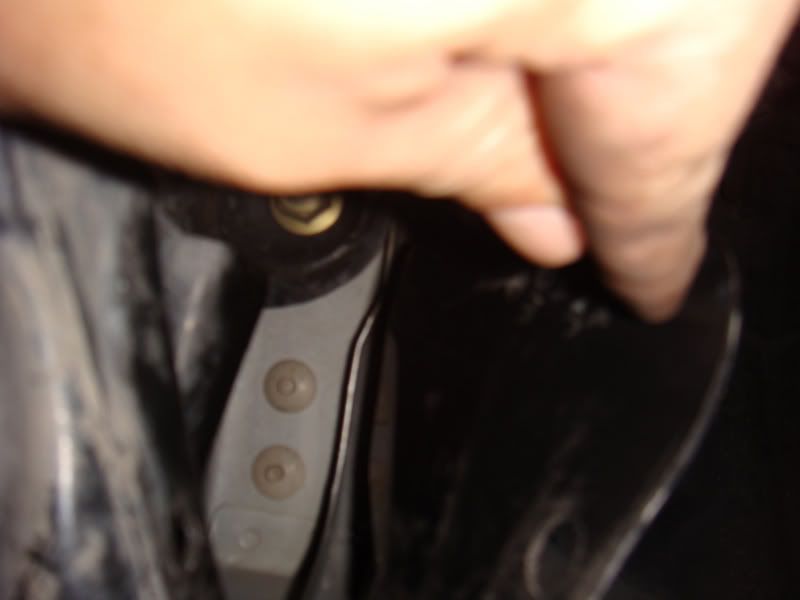
6) Now that you are able to see the Front AFR sensor on the drivers side of the engine, remove the clips on the plastic cowling on the right side of the sensor so you will have more room to acess the sensor and remove it. Use a 22mm crow foot if you have one or a close ended spaner (use a 6-sides one instead of a multisided one) and remove the sensor counterclockwise.
Below are pics for illustration:
7) Once you have removed the sensor, replace the AFR O2 sensor with a Genuine Subaru item. The genuine Subaru item has anit-seize already on the threads. Do not over tighten sensor. Just tighten it with the closed end spanner or crow-foot and you do not need to apply excessive force to tighten it.
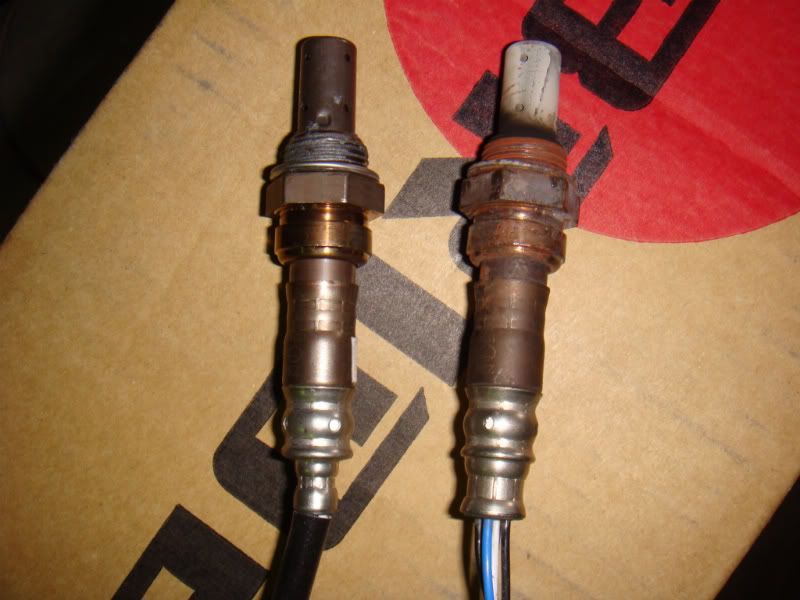
Below are pics of the old faulty sensor on the right that I removed vs the newly updated Genuine Subaru item (22641-AA042) we carry on the left. The newer Subaru 22641-AA042 has better insulation than the previous part. Note that anti-seize is already applied from factory.
New Sensor is now in:
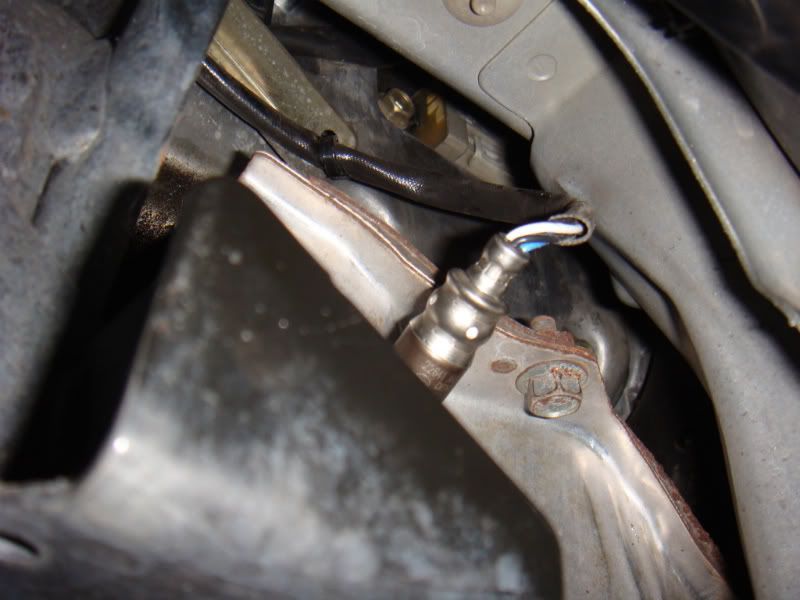
8) Once you have fitted the sensor retrace steps 7-1 and you are done.
I hope that the above will give you an insight on how the Front AFR O2 sensor is removed and replaced on a GD WRX/STi.