|
|||||||
 |
|
|
LinkBack | Thread Tools | Display Modes |
|
#3431
 11-06-2013, 09:38 PM
|
||||
|
||||
|
Last couple of Bird's Dad's Evo 9:
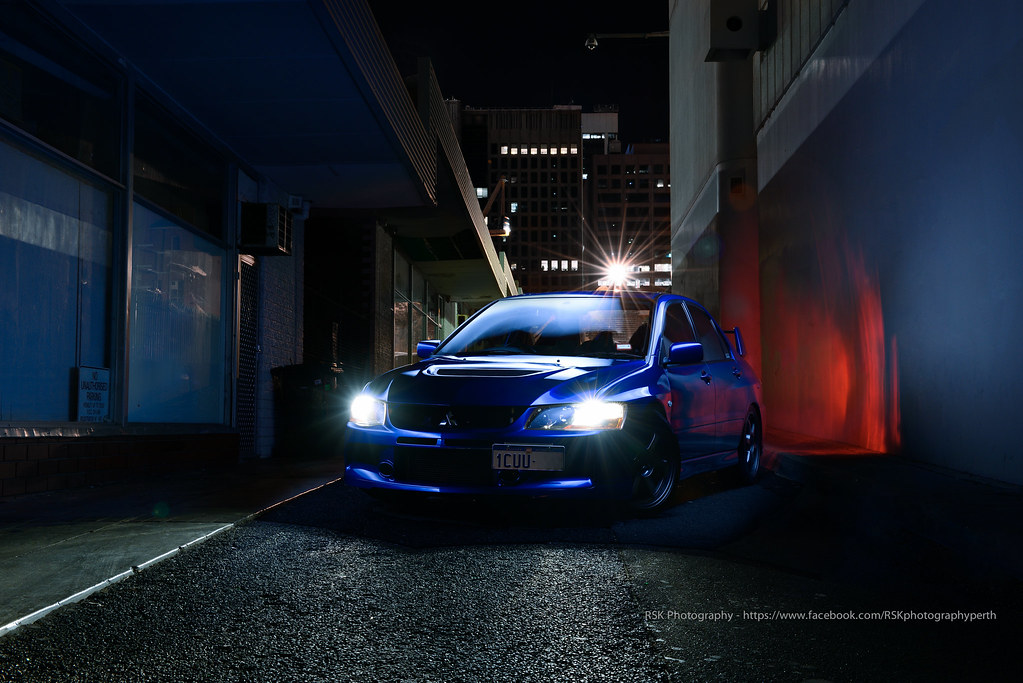 Mitsubishi Evo 9 Blue by Ryan S Kelly, on Flickr 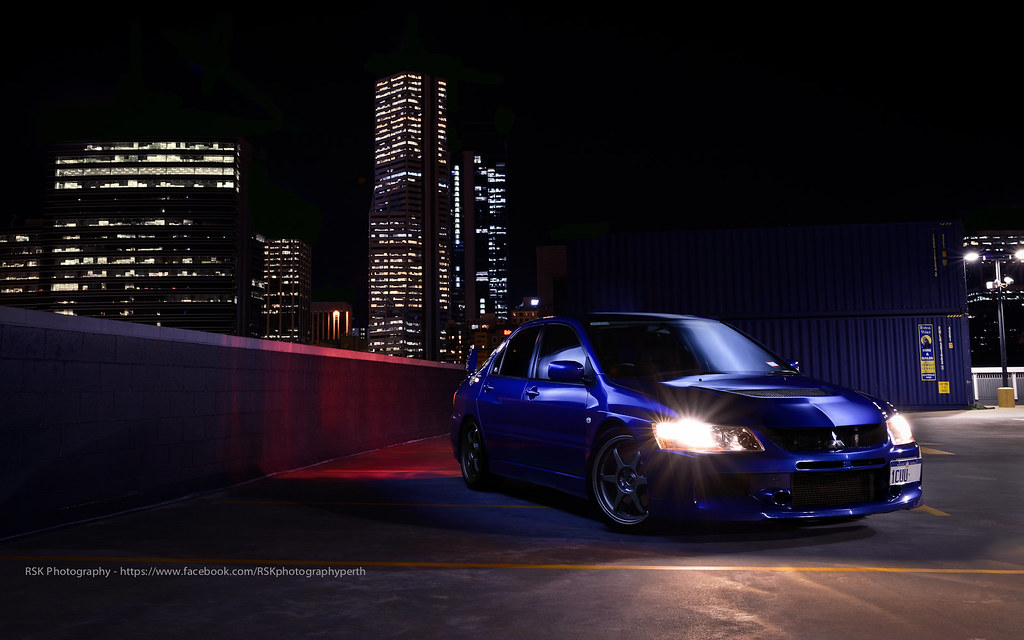 Mitsubishi Evo 9 Rooftop by Ryan S Kelly, on Flickr
__________________
Ryan 
|
|
#3432
25-06-2013, 10:19 AM
|
||||
|
||||
|
Now that Ryan has his own thread this can be mine :P
Some of my work from the last week: SP Racing Team photoshoot  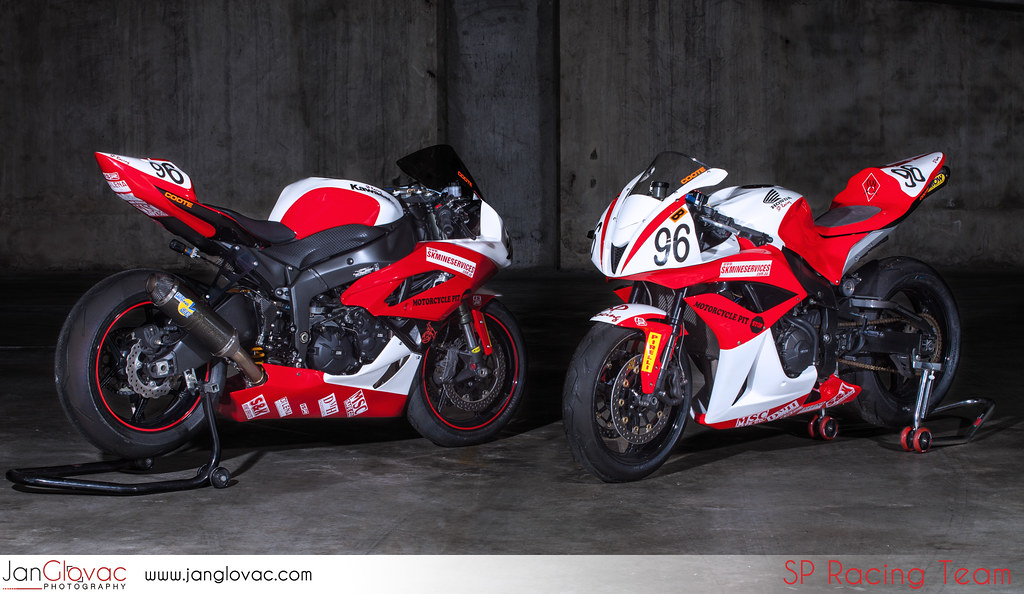 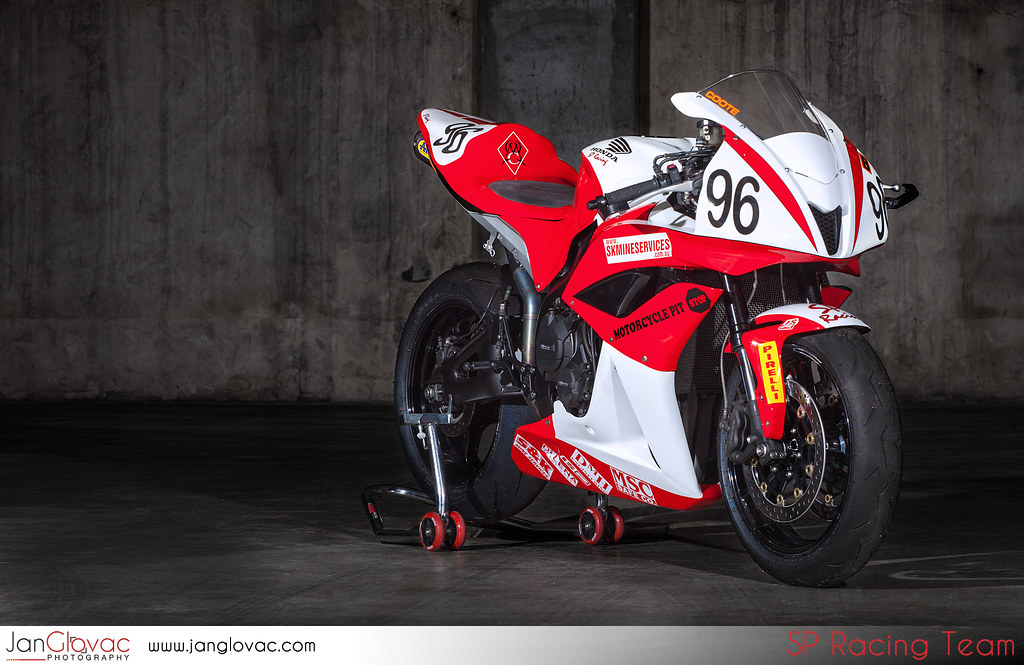 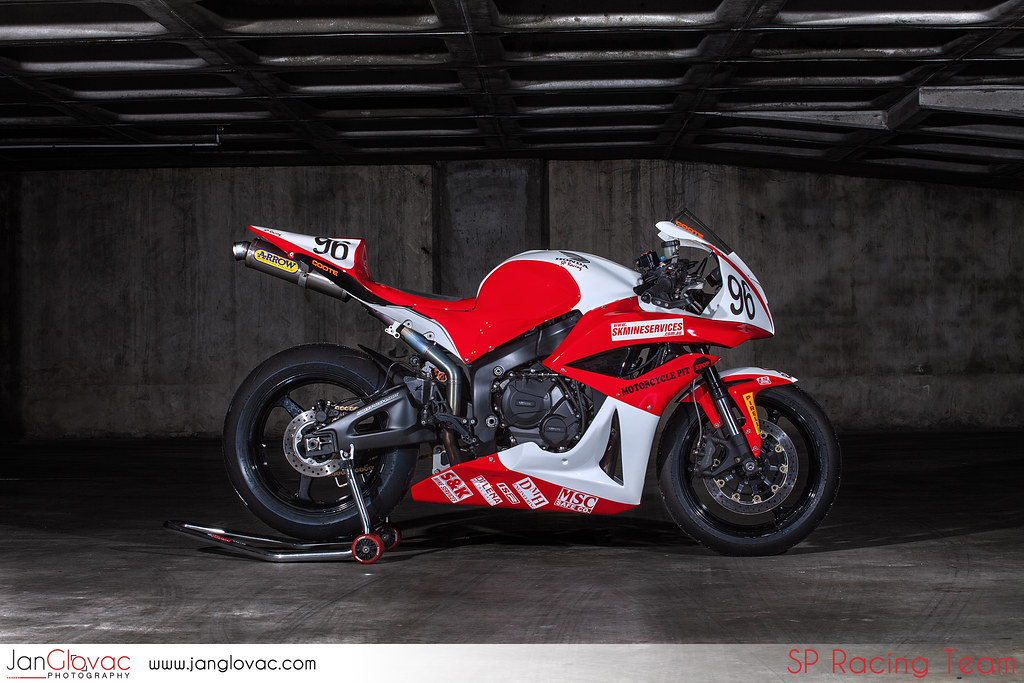  Private trackday at Barbagallo 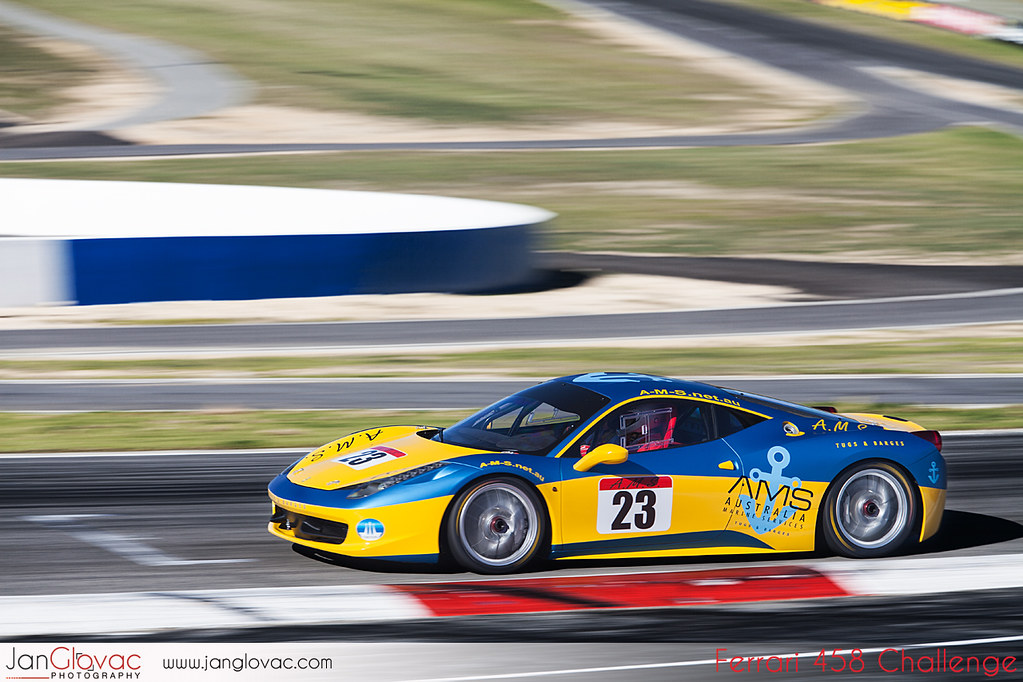 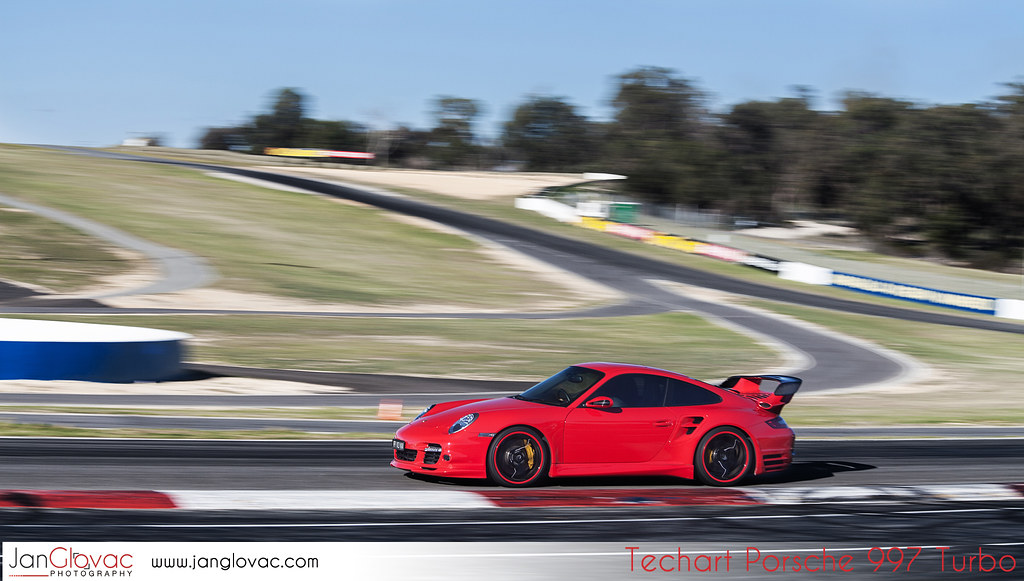
__________________
https://www.facebook.com/JanGlovacPhotography MY05 STI track car | VF Clubsport Last edited by FFOUR; 25-06-2013 at 12:17 PM.
|
|
#3434
25-06-2013, 03:52 PM
|
||||
|
||||
|
Nice shots as always Jan! Bike's are real nice, that location suits them too.
Out of curiosity, what strobes do you recommend? I'm looking at an 2x AB800 w/ Vagabond setup but also tossing up the Elinchrom D-lite 4 with the built in wireless triggers but don't think 400w is enough in daylight...
__________________
Ryan
|
|
#3436
25-06-2013, 05:50 PM
|
||||
|
||||
|
I use the AB's - 800 and 1600. Do ok for what I need. Just keep in mind those numbers are misleading as they are only actually 320 and 640 Watts.
I've hired an Elinchrom Ranger RX kit before for which I used in bright sunlight (this shoot: BMW 1M Coupe — Jan Glovac Photography) and they were brilliant. Pricey though!
__________________
https://www.facebook.com/JanGlovacPhotography MY05 STI track car | VF Clubsport
|
|
#3437
25-06-2013, 06:18 PM
|
||||
|
||||
|
That m1 is one sexy automobile, so much want.
__________________
Bitches love cardigans
|
|
#3438
25-06-2013, 06:21 PM
|
||||
|
||||
|
Didn't realise that about the AB's, I assumed they were 800 and 1600w, thanks!
Would love the rangers but I wouldn't get enough use out of them to justify the cost. Sent from my GT-I9100 using Tapatalk 2
__________________
Ryan
|
|
#3439
02-07-2013, 09:03 AM
|
||||
|
||||
 One of my better attempts at light painting, still a heap of room to improve, any other photographers want to give me some tips for next time it's always appreciated.
|
|
#3440
02-07-2013, 10:35 AM
|
||||
|
||||
|
What were you using as the light source? Looks fairly concentrated and hasn't made much, if any effect on the bodywork. Personally wouldn't bother light painting a light-coloured car, speedlights/strobes are probably a better way of fully illuminating them and getting the white to pop. If you do want to lightpaint though, here is what I did for this shot (admittedly a black car not a light coloured one..)
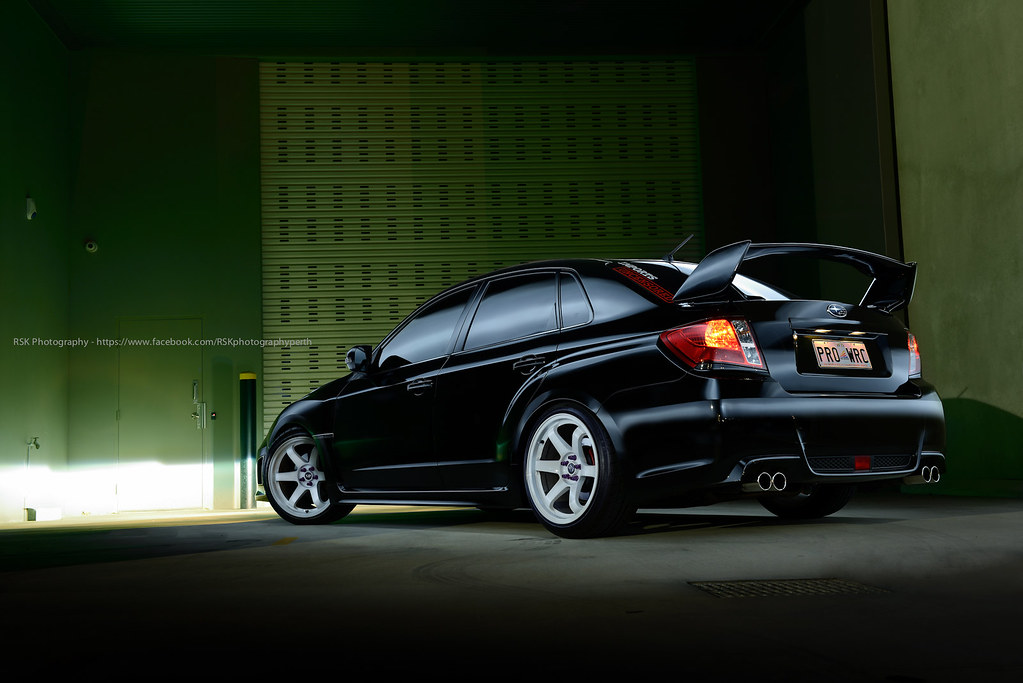 Equipment: 1x Bunnings Bat-light Linky (I have two of them, and they are amazing, you can either run one bank of LED's or two for extra power in really dark situations) 1x Foldable soft box (Used this to diffuse the strong LED lights and create a larger reflection on the black body. For a lighter car you can get away with more direct light cost ~$30 from eBay and folds up real small) Can't remember the exact EXIF but something along the lines of 12 sec, f8, ISO 50. Location: The darker the better really, for the car, the background is fine to be lit, but the car should be in almost total darkness for best results IMO. Process: Concentrate on one panel/side of the car at a time and combine them together in PS. After practice I can light a car like this in around 10mins including change of exposures for headlights, tail lights and interior so it's fairly quick and simple  The key is making sure your "sweeps" with the light source are as smooth and flowing as possible. Remember about reflection angles to the camera, and how these will effect where you need to walk to get the light trail in the right spot. The key is making sure your "sweeps" with the light source are as smooth and flowing as possible. Remember about reflection angles to the camera, and how these will effect where you need to walk to get the light trail in the right spot. 1. Side panels- To accentuate the curves in the bodywork, point the light down towards the floor and keep it raised above the roofline and do your walk across. Remember to walk slightly around the back and front of the car to ensure the reflection encompasses the entire body. 2. Wheels - Point the light at a lower angle at the wheels, and walk around the lower portion of the side panels. 3. Roof/bonnet/windscreens - Create a nice rim light by walking around to the far side of the car (side furthest from the camera), raise the light and point at the roof. Walk along the full length of the car as this will also pull out the front and rear windows, and also the bonnet. In my example above this technique lit up the under side of the spoiler too which was a bonus! Photoshop processing: Bring all the images into the same .PSD. Change the blending mode on each of the layers from "Normal" to "Lighten". Instantly you will see the car light up, but you will probably have white lines in the sky above the car unless you were really careful. Remove the light traces in the sky by selecting each layer and masking them out/erasing. Remove any odd reflections between layers that you don't like. All up it took me only 15min to process the first draft of the example above however you can spend hours perfecting it if you desire. My final images tend to take around 2-4 hours of colour grading, cloning, sharpening and general tweeking.
__________________
Ryan Last edited by 98kellrs; 02-07-2013 at 10:45 AM.
|
|
| Tags |
| gallery, photo |
|
|
 LinkBacks (?)
LinkBack to this Thread: http://www.perth-wrx.com/vb/photography-media/9978-photo-gallery.html
|
||||
| Posted By | For | Type | Date | |
| The automotive strobist setup pic thread - Page 206 - Canon Digital Photography Forums | Post #0 | Refback | 17-07-2013 07:33 AM | |


 323Likes

 Linear Mode


