|
|||||||
 |
|
|
LinkBack | Thread Tools | Display Modes |
|
#41
 21-08-2010, 07:30 PM
|
||||
|
||||
|
Just a few pics when it all started. Got it from rolla forum on my build thread on there, somehow it works.
 This is the part of the dash my mate fabricated, its a bar which is welded above the transmission tunnel and the side pillars where the old dash plate was spot welded. This bar is much more stronger than the old dash plate and should hold the front part of the car a bit more hopefully and avoid any rattling like the old dash did.   1.0mm Thick plate for the dash face  The 3 left side gauges are facing the driver with the plate dropped in 25mm on the right side to give the angle to the driver. Holesaw cut-outs for the gauges to fit   OLD DASH! what it looked like and how it should look now..  We've test fitted the gauges to see how the angle of the 3 gauges on the left are towards the driver. So far everything is good and now a top part of the dash and a console is to be made and then dress everything up with padding then black suede and store away. Gives a nice clear view of each gauge facing the driver. 
Last edited by DZENCI; 21-08-2010 at 07:56 PM. 
|
|
#42
21-08-2010, 07:32 PM
|
||||
|
||||
|
So far new dash has been all dressed up and ready to bolt on when its time to put the interior side of things together.
As for the interior thats it, just had to get this made before respraying took place so the fresh paint doesn't get ruined after. Just a pick with how it looks with the gauges sitting in    Also just had the machining of the engine done at Southside Engine Centre:    Bored and honed to 86.5mm Line-honed main journals Blueprinted/balanced crankshaft/rods Just took in the new clutch kit along with billet flywheel and ross harmonic balancer to get it all balanced out than the assembly will take place along with top end .
|
|
#43
21-08-2010, 07:33 PM
|
||||
|
||||
|
So far the bottom end is ready to put together.
Still got to get it all cleaned up properly to get rid off any metal bits from machining than slowly will get assembled. Im very happy with Southside's for their work, everythings come up nice and flat. Here are all the bits along with the block... 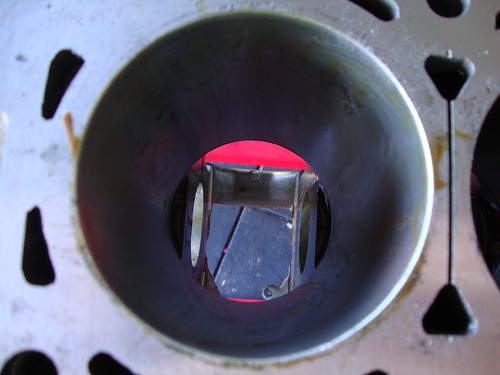 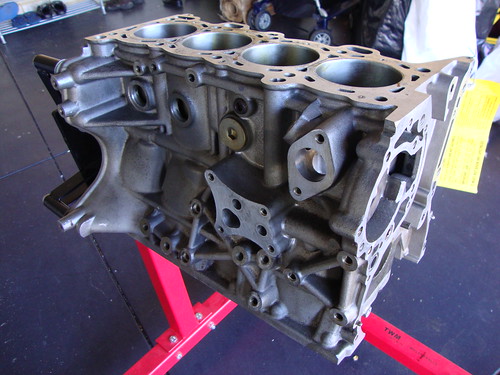 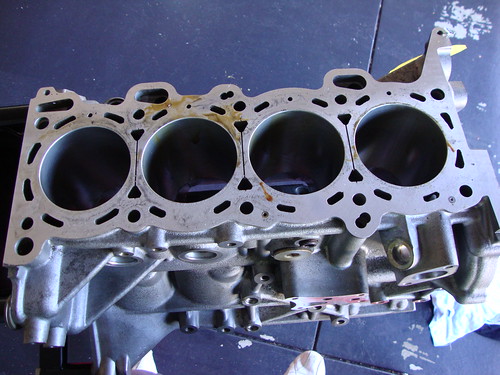  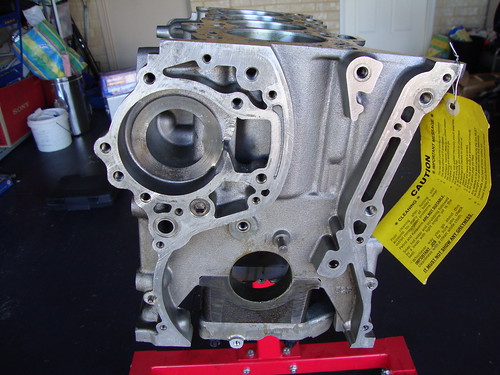 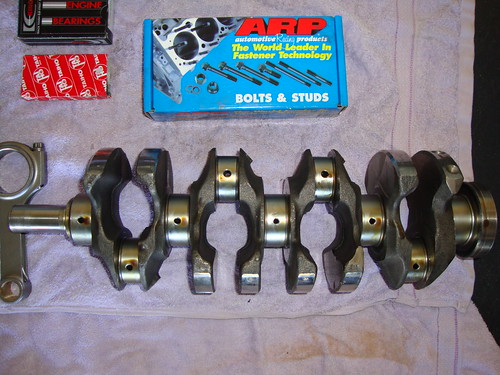 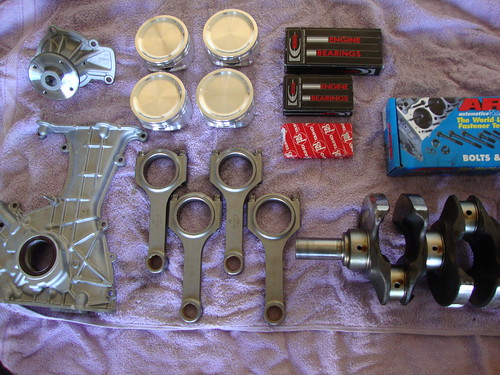 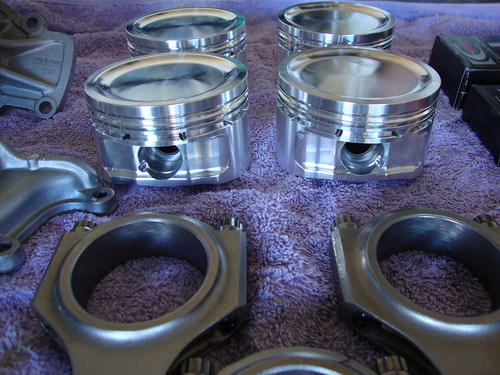
|
|
#44
21-08-2010, 07:36 PM
|
||||
|
||||
|
here is the fully assembled bottom end, yet i've got to sort the cylinder head but still got to choose the best combo for it.
the machining job is no1, thanks to southside engine centre for that. 
Last edited by DZENCI; 21-08-2010 at 07:55 PM.
|
|
#45
21-08-2010, 07:38 PM
|
||||
|
||||
|
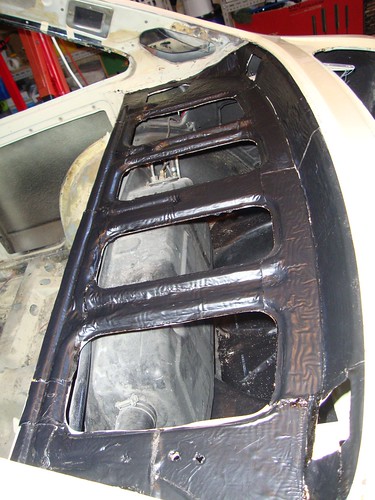
well, its about time I got the car back all freshly painted in the original factory colour.
Very happy with the bare metal paint job. The surface rust in the engine bay is finally gone and now all you can see is a straight engine bay in one colour and no rust spots. 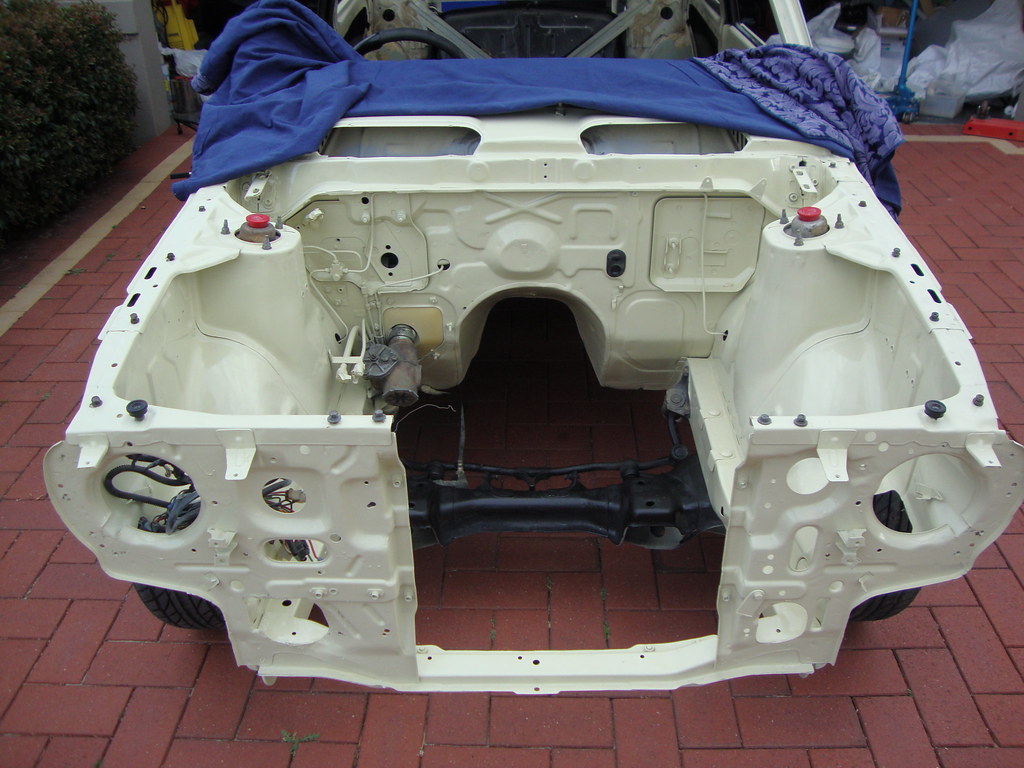 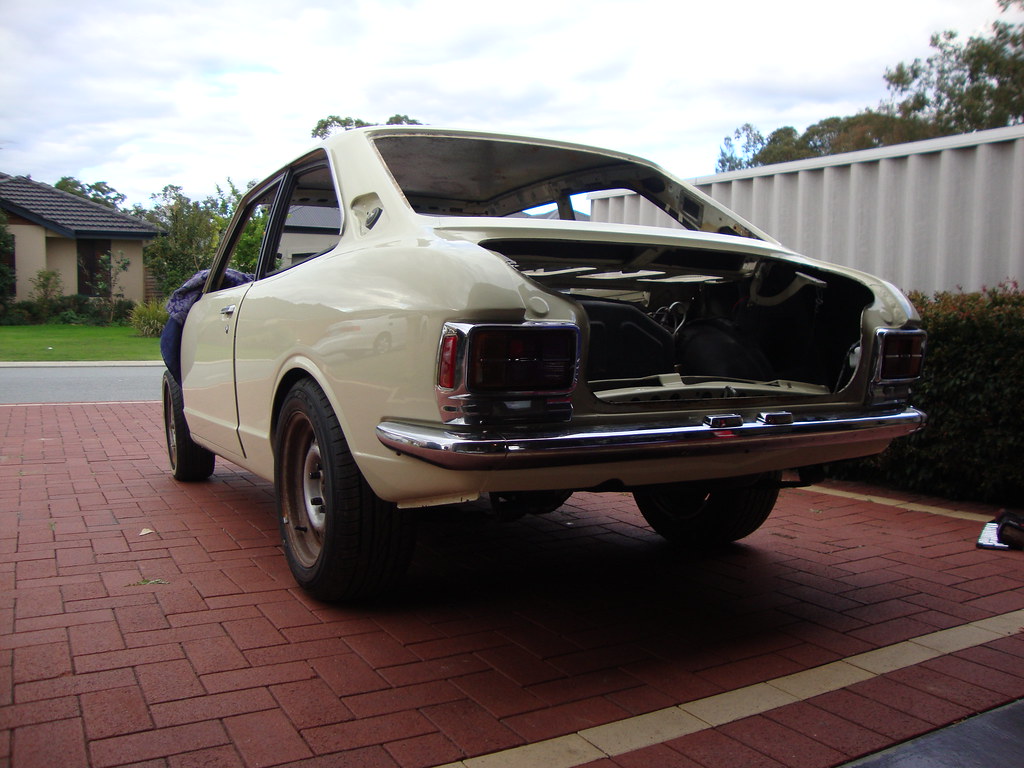 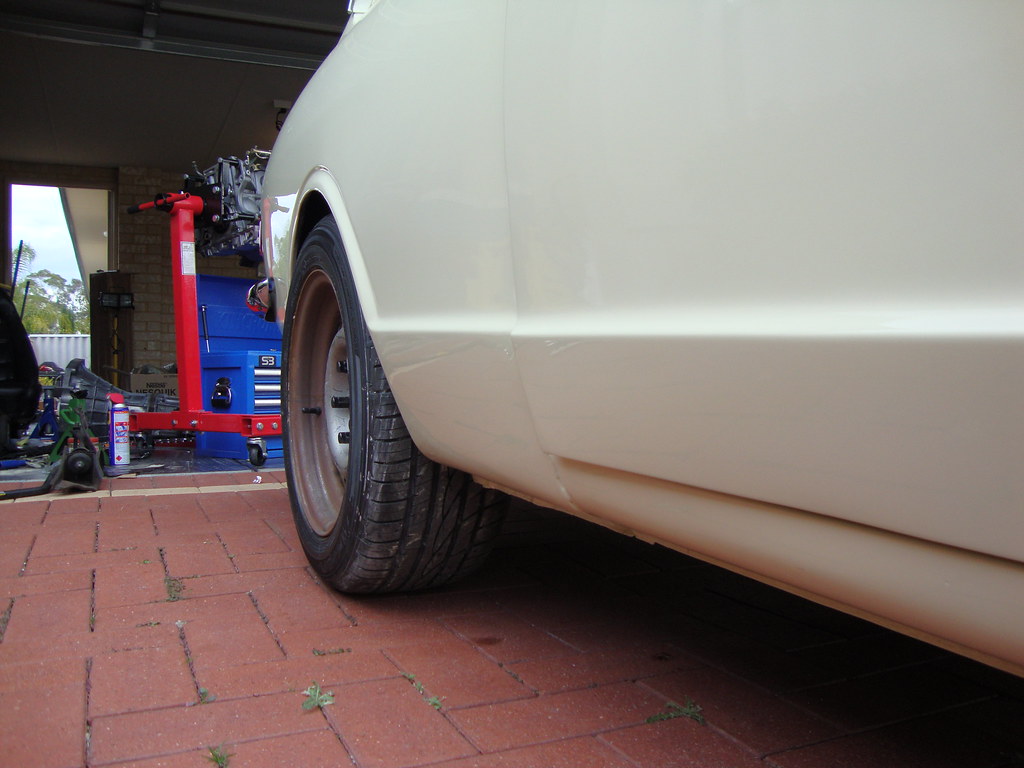 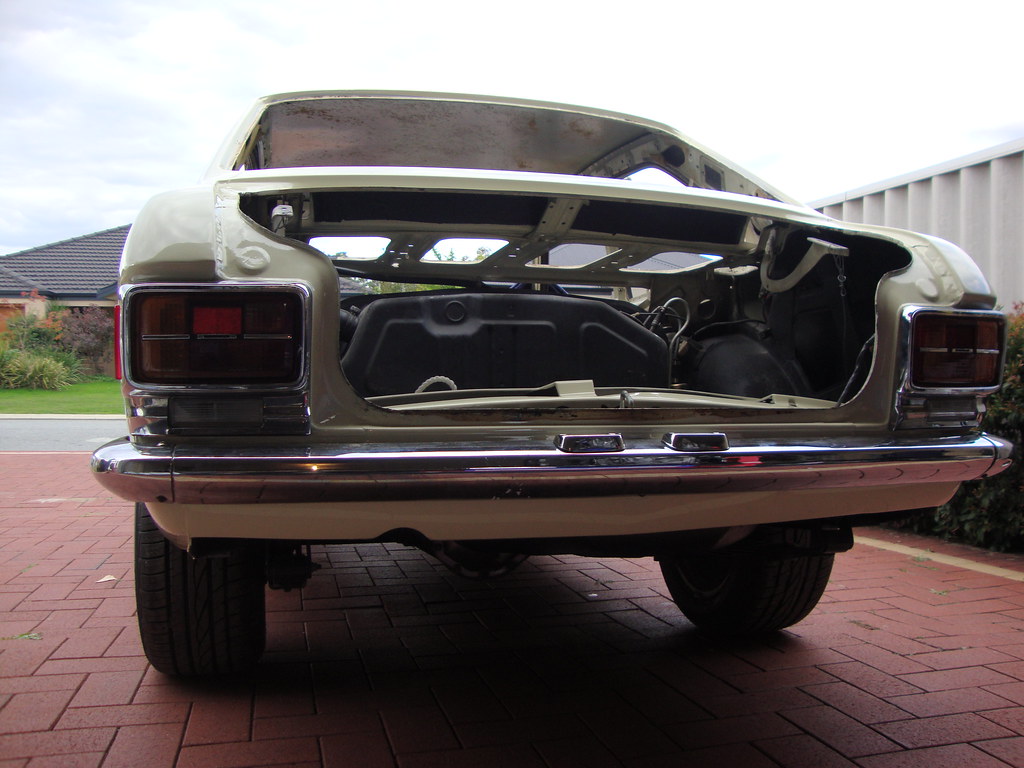 SHE ALSO LOOKS A LITTLE MORE FAT WITH THE NEW CUSTOM PURSUITIES AND TIRES THAN BEFORE 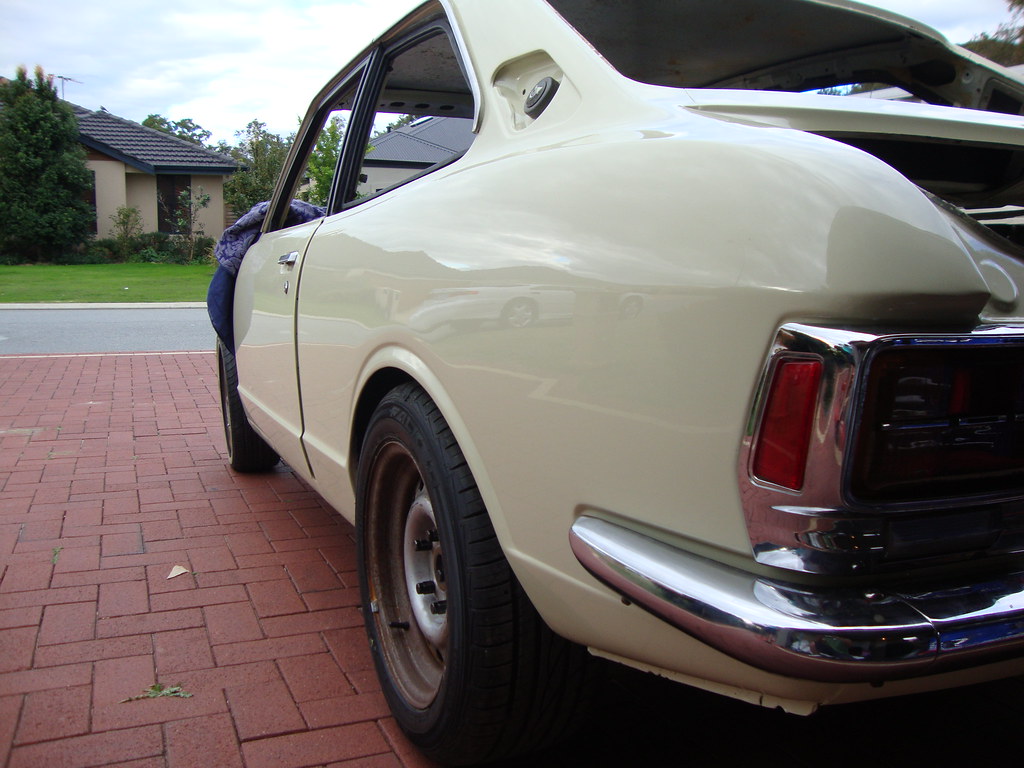 Few evening pics 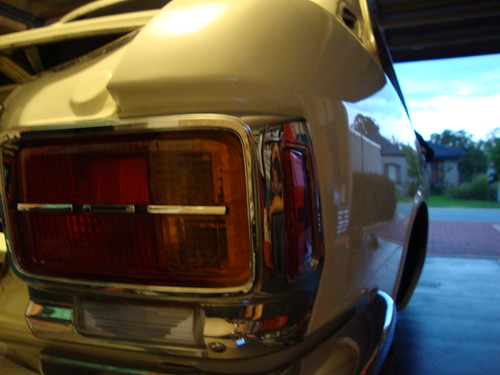 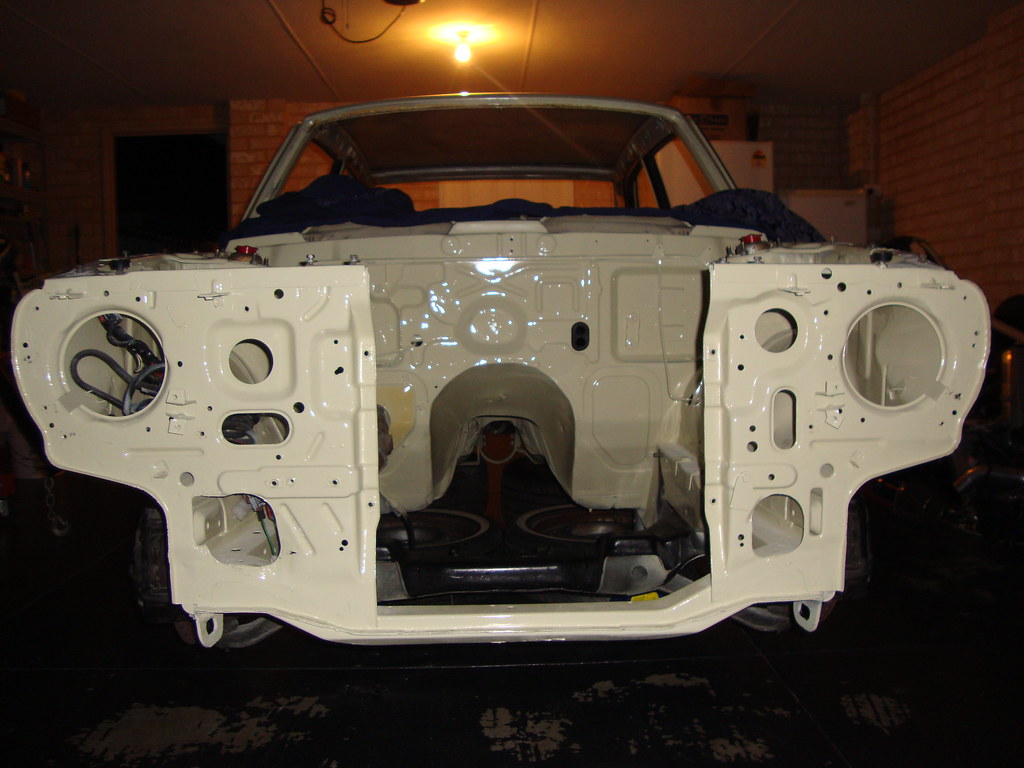 THE FINAL FINISH CLOSE UP, PICTURE PERFECT REFLECTION FROM DRIVER SIDE DOOR WITH ZERO DENTS   Slowly I've started to assemble the rear end starting off with the rear bumper and tail lights and install sound deadening in the boot and the shelf than eventually get the inside of the car done. The difference is very noticable from before and after installing the sound deadener, will definetely ipmrove cabin noise compare to before and make it a little more quieter. 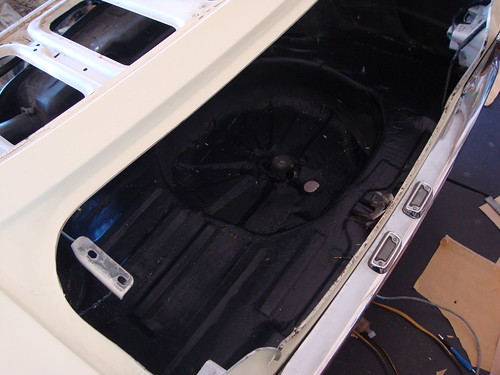 Also have took out the front steering components to install all new tie rods, ball joints, whiteline bushes through out, pretty much got everything that i can change to improve the steering geometry. The steering should be much more responsive than before. All the old joints have split and lost grease so were pretty much useless. Last edited by DZENCI; 24-08-2010 at 01:38 AM.
|
|
#46
21-08-2010, 07:40 PM
|
||||
|
||||
|
The rear shelf is now complete with sound deadener. Still cant believe the difference this stuff makes and it's the same thickness as normal dynamat.
 Thats how the interior stands now. Have cleared out all the things I dont need and started cleaning it up. Have to grab some dry ice tomorrow in order to get rid off the old sound deadener before I lay down the new one. Give's me a head ache looking at it at this state, long way to go yet.  
|
|
#48
21-08-2010, 10:54 PM
|
||||
|
||||
|
Was it Brian from SSE that sorted you out? Top guy, not caught up with him in a while, so unsure if he's even still there.
Orange A9X Torrana, may or may not be running NOS 
__________________
[SIGPIC][/SIGPIC]
|
|
#49
22-08-2010, 04:55 AM
|
||||
|
||||
|
Quote:
It's Graham and Neil. I know Graham has been a part of the company for years and took over ownership. They're a bit pricey but it was worth the money with all the machinig they done for me. Definitely recommend them. Not sure about the orange Torana but I Know Graham is the one who has been race prepping John Zappia's HQ race car. Last time I was there he had a billet big block that cost $20k ex USA for Zappia's engine build.
|
|
#50
22-08-2010, 05:13 AM
|
||||
|
||||
|
Quote:
Currently it's running the rx7 4 pots and 2 pot rears. It's got individual wilwood brake-fluid reservoirs for front and rear.They're pretty good ATM. Might change to something else down the track. That's them there http://memimage.cardomain.com/ride_i...0004_large.jpg
|
|
| Tags |
| corolla, grandpa, sleeper, spec, turbo |
|
|


 19Likes


 Linear Mode


